Standard Eyeglass Alignment

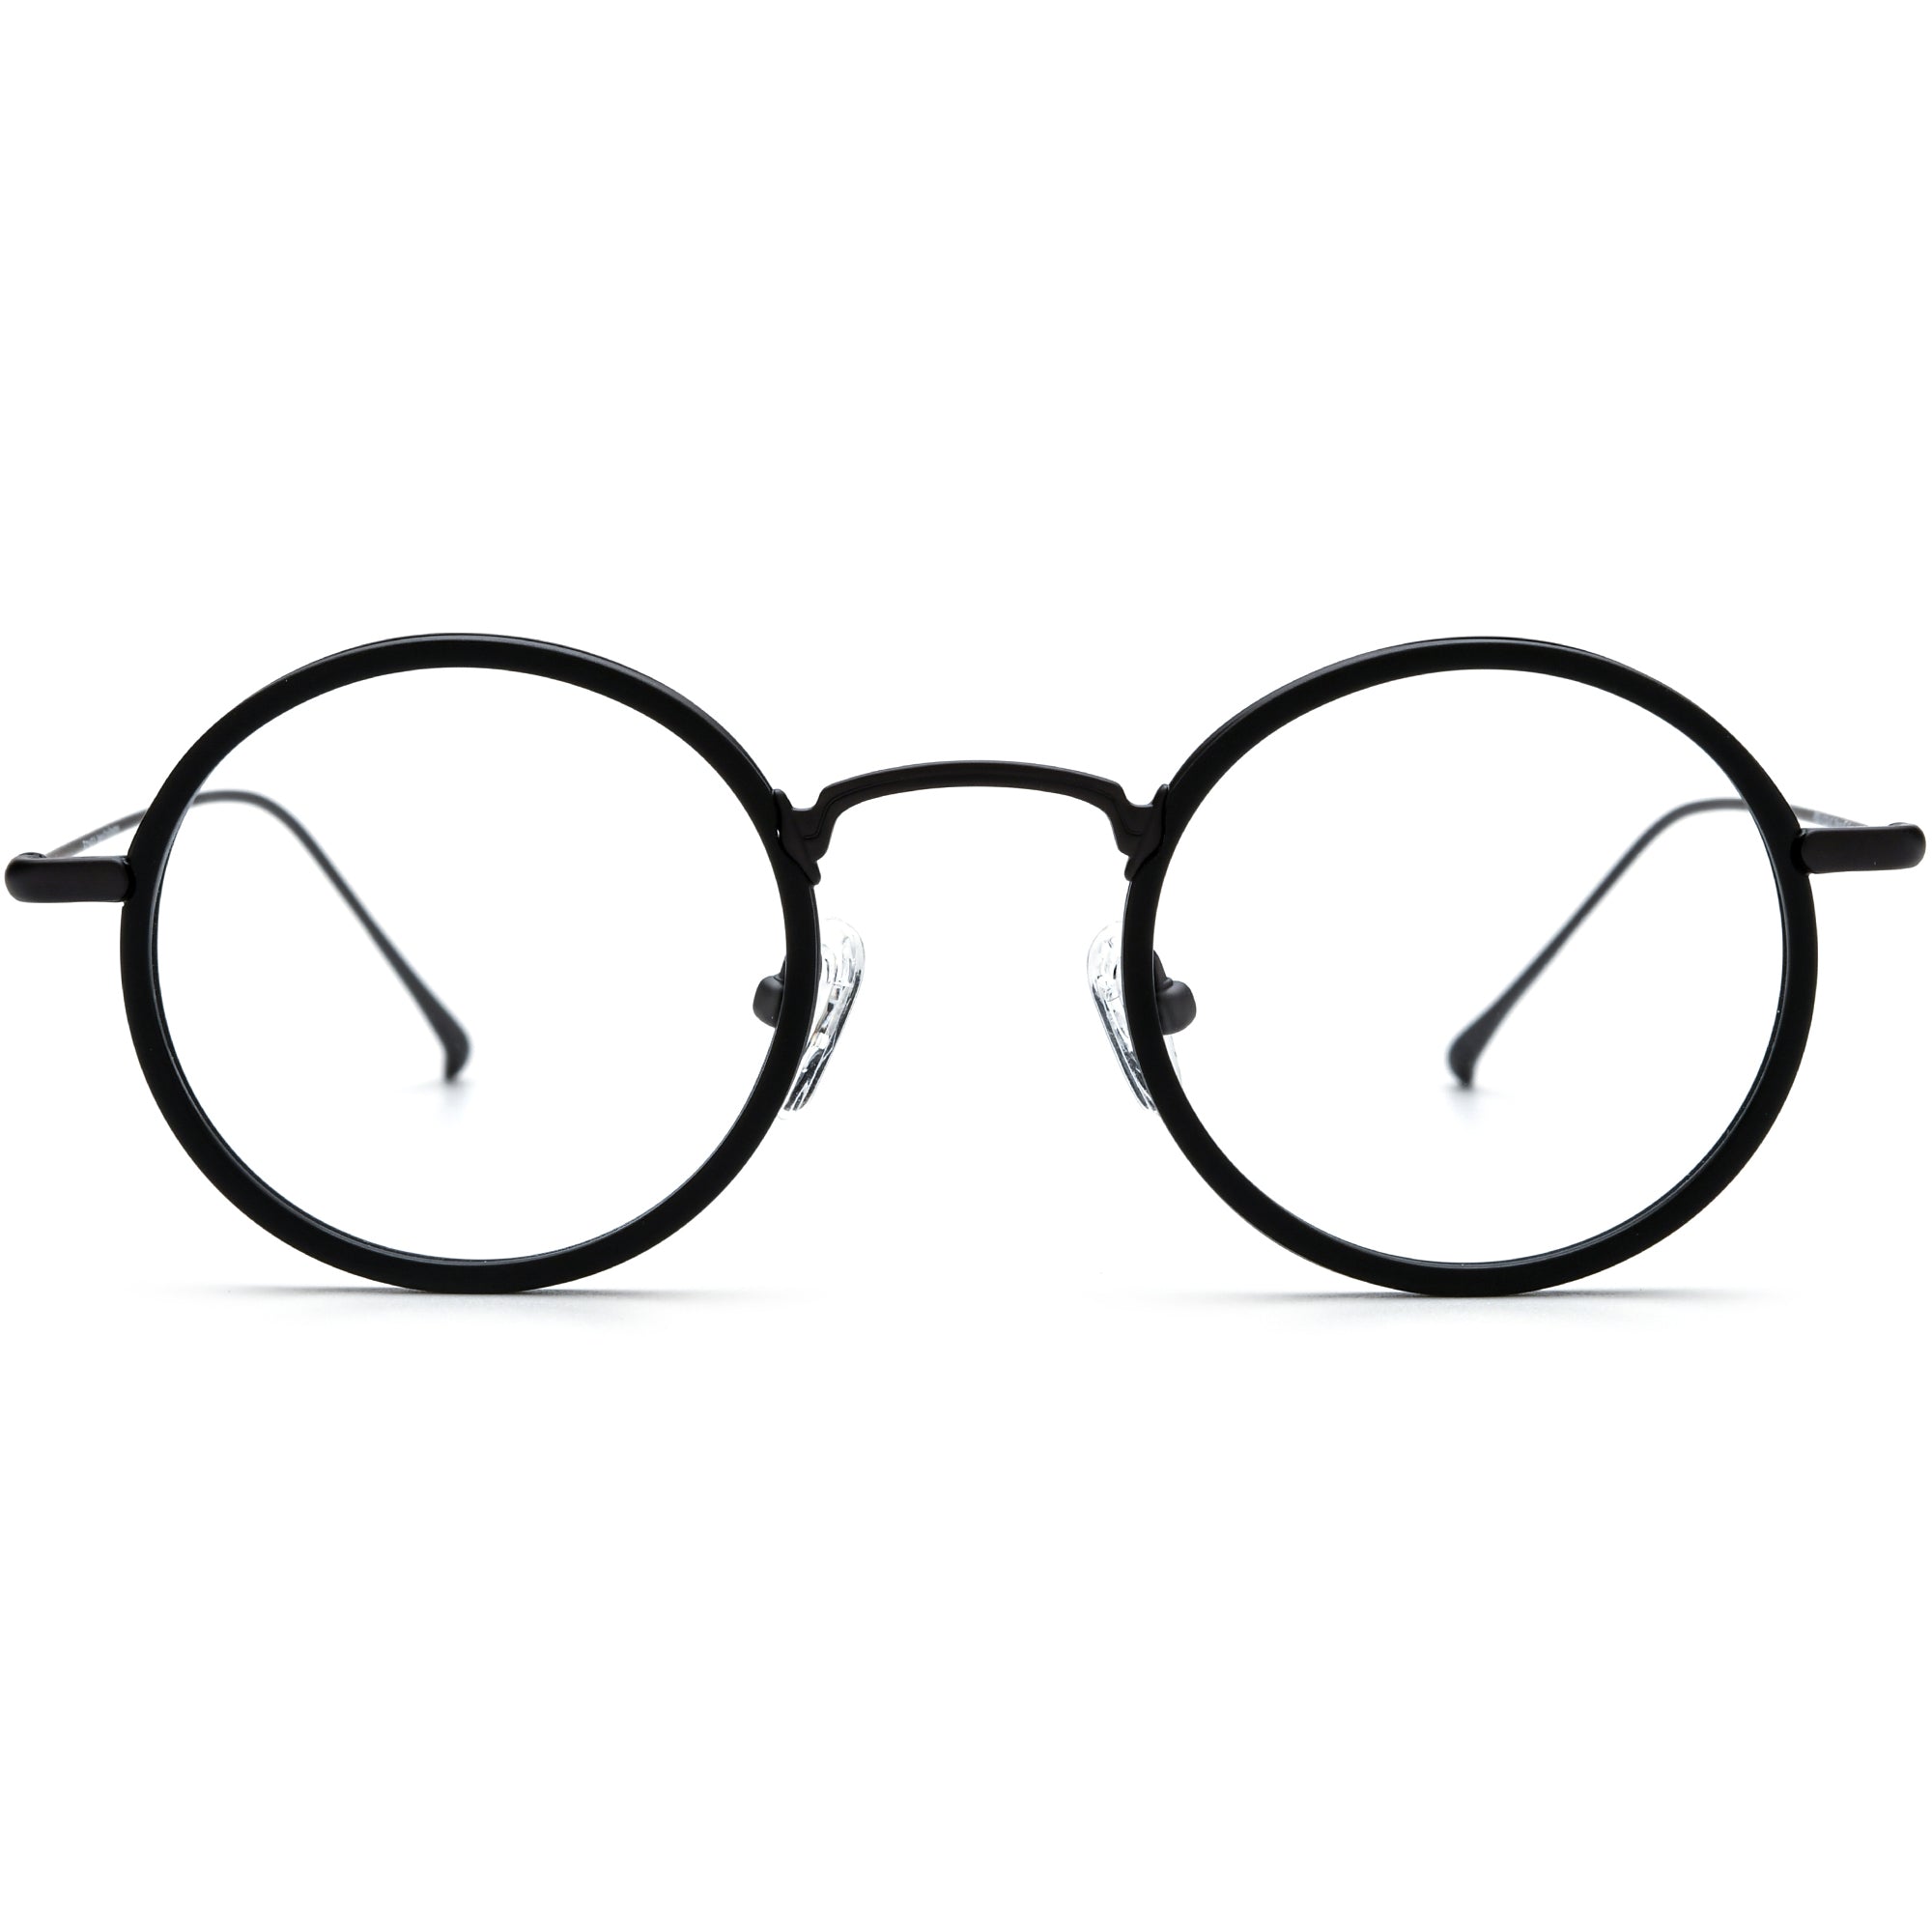
Standard alignment, also called standard adjustment(s), or bench alignment: These are the adjustments that a frame SHOULD have before it ever leaves the lab and reaches a customer. It is a “standard” alignment because it places the frame in a neutral position that provides you, the optician, with a good place to start when adjusting the frame for an individual wearer. “Standard adjustment,” “standard alignment,” and “bench alignment” all mean the same thing. They all refer to the alignment of spectacle frames, independent of individual facial shape. Remember “bench alignment” by tying the words to the act : It is performed at the bench, or lab finishing area, before it reaches the customer, and it acts as a benchmark, or a standard, from which all other alignments will take place. All frames should come to you from the lab in standard alignment, but often they often do not.
You also need to place frames back in standard alignment when making gross repairs to badly damaged frames, such as those that customers have sat or stepped on. With practice, you should be able to place a frame in standard alignment by following the checklist below and by looking at the accompanying pictures. The ability to place a frame in standard alignment is so important that it is a key area of any practical examination to become a licensed optician. It is an essential skill for a competent practitioner.
The importance of having a frame in standard alignment will become clear the moment you place a new frame on a customer’s face. A frame in standard alignment will immediately show the optician where to make the adjustments necessary to fit the frame to the individual (see below). A frame that is not in standard alignment will make the customer feel there is something wrong with the frame and the customer may reject their new glasses without really trying them.


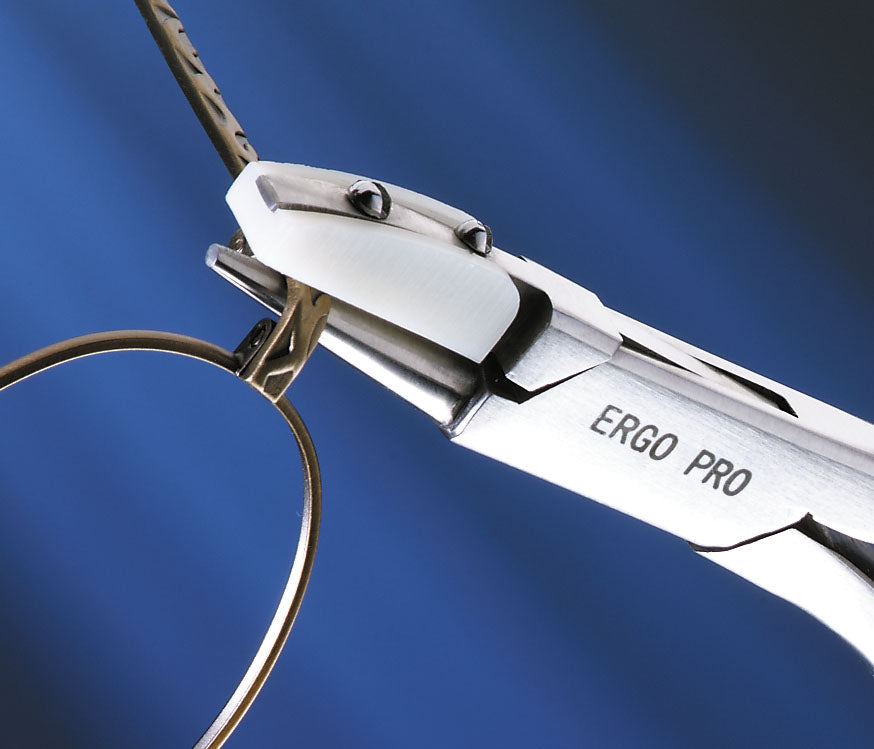
Try to work from the top of the lens to avoid pinching the lens in the tool and creating damage.
Bending the frame without bracing the mounting point may cause the lens to crack.
For mounting use the pliers to squeeze the frame posts down in to the compression sleeves.
For adjustments use the pliers to “pinch” the mounting at the compression fitting and frame mounting and then make your adjustments.
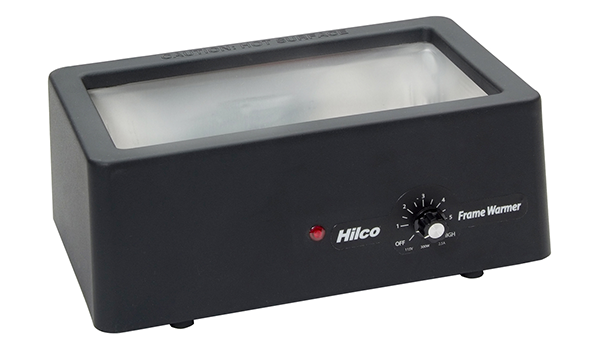
Note: Flexible plastic frames can be heated and adjusted with some success.
Note: Flexible metal frames must be adjusted from the chassis end piece (where the frame and temple meet) which is designed without flex properties so it will hold adjustments.
To place frames in standard alignment follow these steps:

Tighten all screws. If you fail to tighten all the screws prior to trying to align the frame, you will be “bending against nothing.” You must have tight screws (resistance) in order to bend the frame. This is also the first step in routine “check-up” visits from customers. Should you fail to tighten all screws before you begin, you risk tearing the eyewire screws out of the frame, destroying the frame, or creating the need for a time-consuming repair. Check that the eyewire screws are tight, and that the hinge screws are tight enough to allow free range of movement of the temple, leaving enough resistance to keep the temple from “flopping around.”

Check lens co-planar alignment. When the lenses are parallel, but one lens is farther forward than the other, the lenses are misaligned. This misalignment will be seen when viewing the frame from above. Coplanar misalignment occurs from the bridge being pushed forward or backwards while the lenses remain “on axis” and in correct tilt. This misalignment is corrected by using your fingers and thumbs to gently bend the bridge back in place.

Check for X-ing, which refers to the lenses being twisted about the bridge. The bend occurs at the point where the eyewires are attached to the bridge. Think of one lens having pantoscopic tilt and the other having retroscopic tilt (see below). This misalignment will be seen when viewing the glasses from the side.
It is corrected by grabbing the eyewires and gently bending them in place as if you were wringing out a washcloth.

Check for skewed bridge, or skewed eyewires. A skewed bridge occurs when a lens is rotated inward or outward around the bridge. This misalignment is generally created when a lab is trying to pass a lens that is far off-axis (a lab error). This misalignment will be seen when looking at the glasses straight on from the front.
A useful tool for checking this alignment is the prescription alignment gauge. This is a tool for checking segment heights, but also provides you with a great grid pattern to compare frame symmetry. You may also use a sheet of graph paper taped to a smooth desktop or bench.
To correct a skewed bridge or lens, grab the eyewire(s) and simply rotate them in or out from where they meet the bridge until the eyewires are level across the frame while assuring that the bridge is straight across.


Check face-form. Face-form is the curvature of the frame front to the patient’s face as seen from above. There are three distinct types of face-form. The desired alignment is shown in Figure A: Positive Face-Form, in which the frame front sits slightly curved to match the curvature of the wearer’s face. The bridge of the frame sits slightly more forward than the end pieces. Some amount of positive face-form is required, both for good cosmetics and for good optics.
The alignment that needs to be corrected is shown in Figure B: Negative Face-Form, in which there is a slight outward curvature of the frame front from the wearer’s face or from the bridge. The end pieces of the frame are more forward than the bridge when viewed from above. This is both cosmetically unacceptable and optically incorrect.
Some frames will have no face form, or have a Neutral Face-Form as shown in Figure C, which is a frame front that is perfectly flat. The end pieces and the bridge look straight upon the same plane. This is often acceptable. However, a better cosmetic result may still be achieved with some positive face-form. Note: excessive face-form in any direction will create change in the lens powers, and can create serious problems for some wearers.


Check frame tilt. Frame tilt occurs at the temples where they are attached to the chassis and form an angle, or tilt slightly downward, forcing the bottom of the eyewire slightly in towards the cheek when viewed from the side. Several different tilt designs are noted.
The desired position for the temple and frame front is Pantoscopic Tilt as shown in Figure A. Pantoscopic tilt is present when the bottoms of the eyewires are closer to the face than the tops of the eyewires. Some pantoscopic tilt is needed for good cosmetics and for good optics.
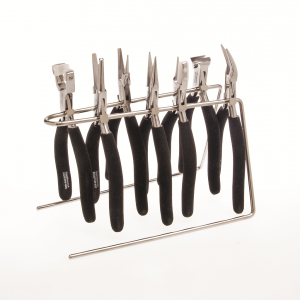
Virtually every metal frame will leave the lab process with excessive pantoscopic tilt. This is caused by the drawing in of the frame when the eyewire is tightened around the lens. To create or reduce pantoscopic tilt, you need to use temple-angling pliers, your hands or a similar tool. While firmly holding the eyewire, bend the temple up or down.
Some frames will look best with little or no tilt. This means a ninety degree angle is formed at the point where the temples meet the frame front as shown in Figure C.
The misalignment that must be corrected in standard alignment is Retroscopic Tilt as shown in Figure B. Retroscopic tilt ispresent when the bottoms of the eyewires sit out further from the face than the tops of the eyewires. This is cosmetically unacceptable, and can create a variety of optical distortions for the wearer. In retroscopic tilt, the temple is actually angled up and away from the chassis. To correct retroscopic tilt and create pantoscopic tilt, use temple angling pliers or a similar tool. While firmly holding the eyewire, bend the temple down.


Check temple parallelism. See if both temples are parallel to each other. Your test for parallelism is the “flat surface touch test.” Turn the frame UPSIDE DOWN on a flat surface. If the frame front (or the tops of both eyewires) and both temples make contact with the flat surface, the temples are parallel, and the frame is in correct standard alignment. To correct for temple parallelism, simply use the same tools and methods that you do for tilt and adjust only one temple.
Note: This test is made with the frame “on it’s back” not with the temple tips!


Check for open temple angle, which occurs when the open temples create a 90° angle with the chassis. The temples may be angled out slightly by a degree or two. However, they should never be angled in, since this will actually push the glasses away from the wearer’s face. To correct this misalignment, use the soft-hard pliers, and carefully bend the temple where it meets the chassis while holding the eyewire firmly. Be careful that the tool has enough room to work and that you are not wedging it between the temple and the chassis point.


Check the temple fold angle, which refers to the position of the temples when they are folded over, closed, and about to be placed into their case. When the temples are closed, the temple tips should not touch the ocular surface of the lens. The tips should rest on the edges of the eyewire. They should cross over each other at the middle of the bridge area, coming as close to parallel as possible. To correct temple fold angle, with the temples folded or closed, use your hands, the hard-soft pliers, or the wide-jaw temple angle pliers designed for that purpose.


On metal frames, we must also look at the nose-pads. Although other texts are filled with terms such as “splay angle” and “frontal angle” and the correct number of degrees when discussing nose-pad alignment, consider a much simpler approach. Just think about how a human nose is shaped! Place the pads in the position that best represents the human nose. As viewed from the front, the nose-pads should be angled so the fronts of the pads are closer than the backs, and the bottom of the pads are clearly angled outward temporally. Be sure both pads are positioned equally front to back and side to side.
Remember this is standard alignment not an alignment for an individual. Yes, your nosepads may well end up looking like one of the examples that says, “NO” but that is not where we want to start.
A properly aligned frame will give the patient an immediate positive experience. A properly bench – aligned frame will feel good to the patient and set the stage for a positive dispensing experience. Imagine how you would feel after looking forward to getting your new glasses, which cost hundreds of dollars, and they were visibly higher on one side, closer to one eye than to the other, and so tight that they were actually being pushed off your face.

